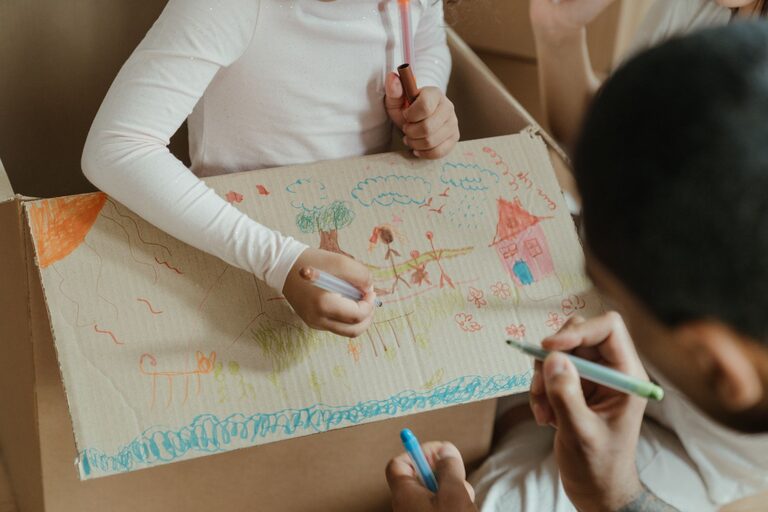
Children’s artwork is a wonderful way to cherish their creativity and development. However, as the masterpieces pile up, it can become challenging to keep them organized without feeling overwhelmed by clutter. Whether it’s finger paintings, drawings, or 3D crafts, having a system to store and showcase your kids’ art can help preserve those precious moments while keeping your space neat.
In this post, we’ll explore practical tips and ideas for organizing your child’s artwork, from sorting and storing to displaying and digitizing.
Why Organizing Kids’ Art Matters
Children’s art is more than just paper and paint; it reflects their imagination and growth. Keeping it organized:
– Helps you keep track of progress over time
– Makes it easy to revisit and enjoy old pieces
– Reduces clutter and mess in your home
– Encourages your child to value their work
By establishing a routine and system for organizing, you can enjoy your child’s creativity without feeling overwhelmed.
Step 1: Sort and Select
Before storing or displaying, it’s important to sort through the collection.
– Create categories: Group artwork by age, theme, or type (e.g., paintings, drawings, crafts).
– Involve your child: Let them choose favorites to keep, fostering a sense of ownership.
– Decide what to keep: Not every piece needs to be saved. Consider keeping items that are meaningful, show progress, or are favorites.
– Recycle or gift: For art you decide not to keep, consider recycling paper or gifting pieces to family members.
Sorting helps reduce volume and makes managing artwork easier.
Step 2: Choose Storage Solutions
After sorting, select the best storage methods to protect and organize the items.
Flat Storage Options
– Portfolios: Large, flat folders designed specifically for artwork help keep pieces neat and protected.
– Expandable files: These accordion-style folders allow you to separate art by date or theme.
– Large envelopes: Label and store artwork inside oversized envelopes for easy access.
Three-Dimensional or Bulkier Art
– Storage bins: Use clear plastic bins with lids for bulky projects like sculptures or craft items.
– Display boxes: Shadow boxes can both store and showcase 3D creations.
Label Everything
Label storage containers with dates, child’s name, or content type to quickly find what you need later.
Step 3: Display Creations Proudly
Showcasing your child’s work encourages creativity and boosts confidence.
– Dedicated art wall: Use a corkboard, string with clips, or magnetic paint to create an ever-changing gallery.
– Frames: Rotate favorite pieces in frames around your home.
– Digital photo frames: Upload images of artwork to a digital frame for a modern display.
– Art books: Compile scanned or photographed artwork into a printed photo book for a neat keepsake.
Step 4: Digitize Artwork for Long-Term Preservation
Digitizing artwork saves space and creates a lasting record.
– Scan or photograph: Use a scanner or camera to digitize each piece.
– Organize digital files: Create folders by year or child and label files clearly.
– Backup: Store digital copies on cloud services or external drives to prevent loss.
– Create digital galleries: Share artwork online with family or create slideshow presentations.
Digitizing makes it easy to share art and frees physical space.
Step 5: Establish a Routine
Make artwork organization a regular activity to avoid buildup.
– Regular reviews: Every few months, go through new artwork and decide what to keep or discard.
– Involve your child: Encourage them to help sort and select, teaching organization skills.
– Set limits: Use storage containers with size limits to manage how much art can be kept.
Consistency keeps your system manageable.
Additional Tips for Keeping Kids’ Art Organized
– Use a binder with plastic sleeves: Perfect for smaller or flat artwork.
– Create an art journal: Paste or tape art into a dedicated notebook.
– Repurpose artwork: Turn pieces into greeting cards, gift wrap, or decorations.
– Keep supplies organized: Store art materials separately to maintain a dedicated creative space.
Conclusion
Organizing your child’s artwork doesn’t have to be overwhelming. By sorting, selecting, using smart storage, displaying proudly, digitizing, and maintaining a routine, you can preserve these creative treasures and keep your home tidy. Plus, involving your child in the process makes it a fun and meaningful activity that honors their artistic journey.
Try these tips to transform your child’s art clutter into a well-loved collection that brings joy for years to come!
About the Author